Quick Install
Note: This will install OpenAD in your global space. If you wish to use a virtual environment, please see more detailed instructions below.
pip install openad
openad
Get started with Jupyter:
init_magic
init_examples
jupyter lab ~/openad_notebooks/Table_of_Contents.ipynb
Before You Start
- OpenAD is available for Linux and MacOS
- We support Windows 11 via WSL 2 (ubuntu 22.04) - see Installing on Windows
- When not installing into a virtual environment on MacOS, you may need to use
python3andpip3instead ofpythonandpiprespectively
Table of Contents
- Installation
- Getting Started - CLI
- Getting Started - Jupyter
- Interacting with the Toolkits
- AI Assistant
- For Developers
- Installing on Windows
- Linux Notes
Installation
Note: Contributors should skip to Installation for Development
Note: Linux users may want to check the Linux Notes
Note: If you prefer using poetry and you know what you’re doing, you can skip the instructions below and runpoetry add openadinstead.
-
Step 0: Before you start
Ensure you’re running Python 3.10 or 3.11. There’s multiple ways of updating Python, we’ll use pyenv.Note: Due to an issue with one of our dependencies, Python 3.12 is not yet supported.
git clone https://github.com/pyenv/pyenv.git ~/.pyenv pyenv install 3.10 -
Step 1: Set up your virtual environment (optional)
python -m venv ~/ad-venv
source ~/ad-venv/bin/activate
Note: To exit the virtual environment, you can run
deactivate -
Step 2: Installation
pip install openad
Getting Started - CLI
-
Enter the virtual environment
Note: If you just installed OpenAD, you probably already activated the virtual environment.
source ~/ad-venv/bin/activate -
Enter the command shell
openad -
Exit the command shell
Hitctrl+cor run:exit -
Run a single command from outside the command shell
openad <command> -
Exit the virtual environment
deactivate
Getting Started - Jupyter
Setting up Jupyter
The following commands only need to be run once after installation:
-
Activate your virtual environment
Note: If you just installed OpenAD, you probably already activated the virtual environment.
source ~/ad-venv/bin/activate -
Create an iPython kernel
This ports your virtual environment to Jupyter.python -m ipykernel install --user --name=ad-venvNote: To list your installed iPython kernels, you can run
jupyter kernelspec list, and to remove the kernel you can runjupyter kernelspec uninstall ad-venv -
Install the magic commands
This enables OpenAD commands to be run within a Jupyter Notebook.init_magicAlternative: Manually add magic commands
If you don’t want to activate magic commands in all Notebooks, you can instead activate them for individual Notebooks.
- Run
init_examples - Copy the file
~/openad_notebooks/openad.ipynbto the same directory as the Notebook you wish to activate. - In your Notebook, run this inside a code cell:
!run openad.ipynb
- Run
-
Install example Notebooks
This installs our example Notebooks at~/openad_notebooks.init_examples
Launching OpenAD in Jupyter
-
Open any Notebook
The following command will open up the example Notebook:jupyter lab ~/openad_notebooks/Table_of_Contents.ipynb -
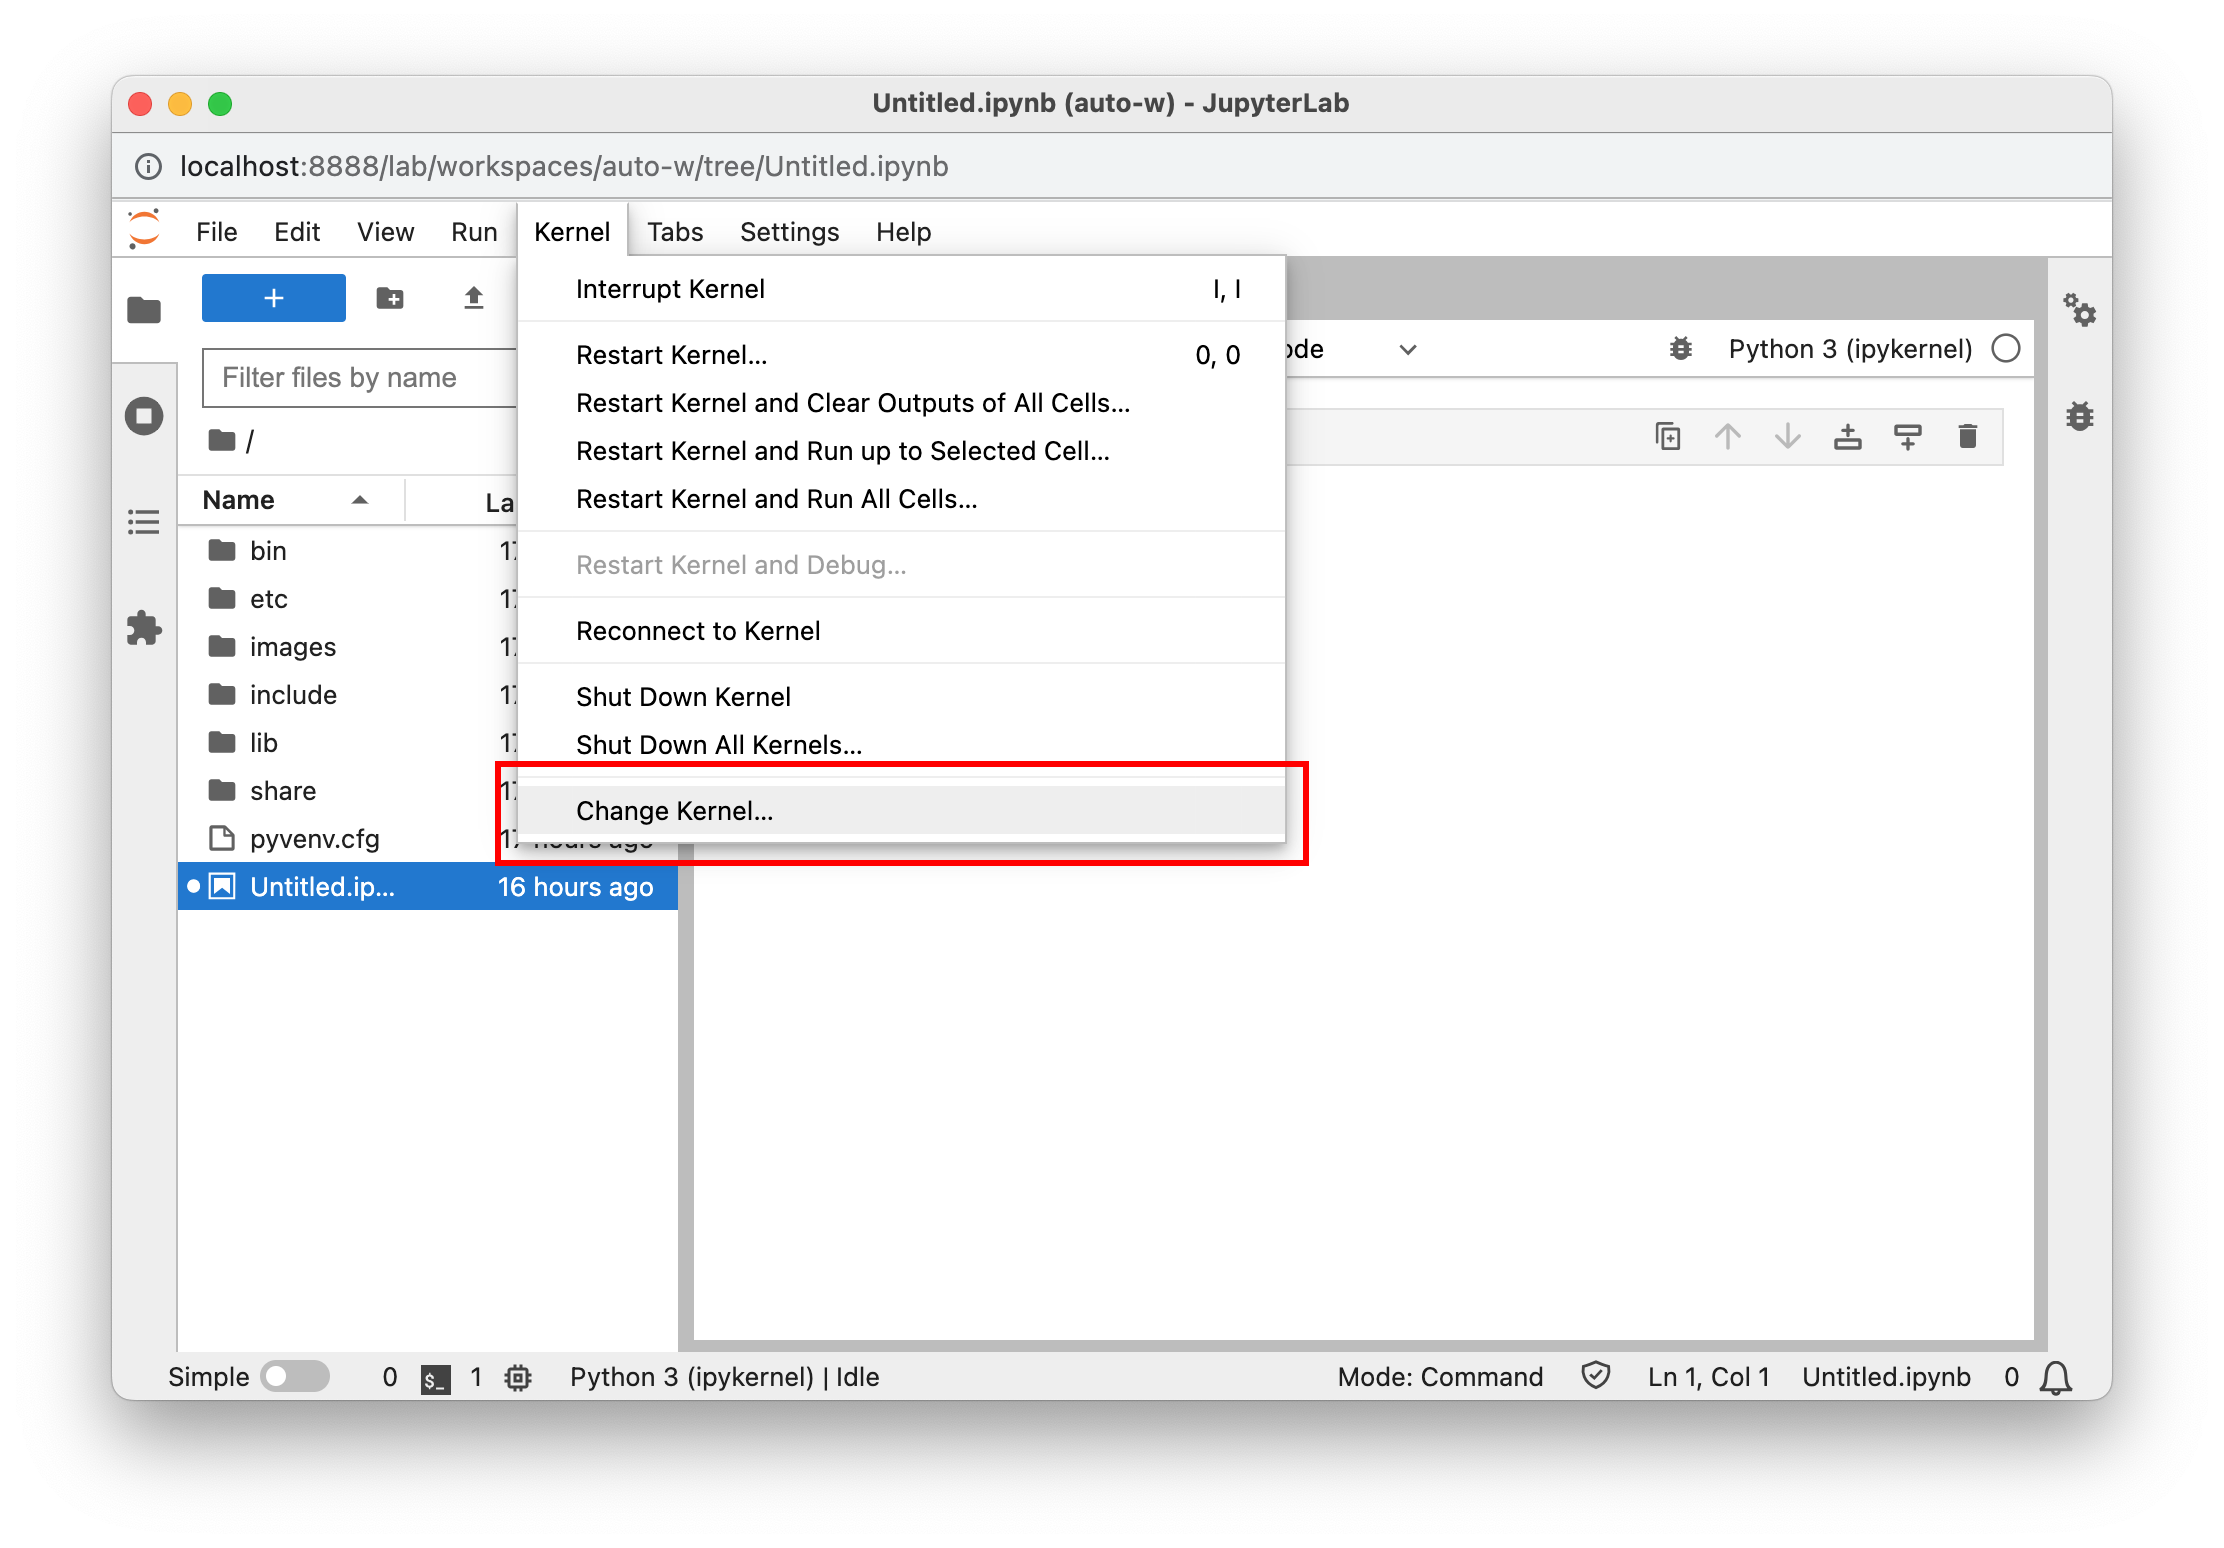
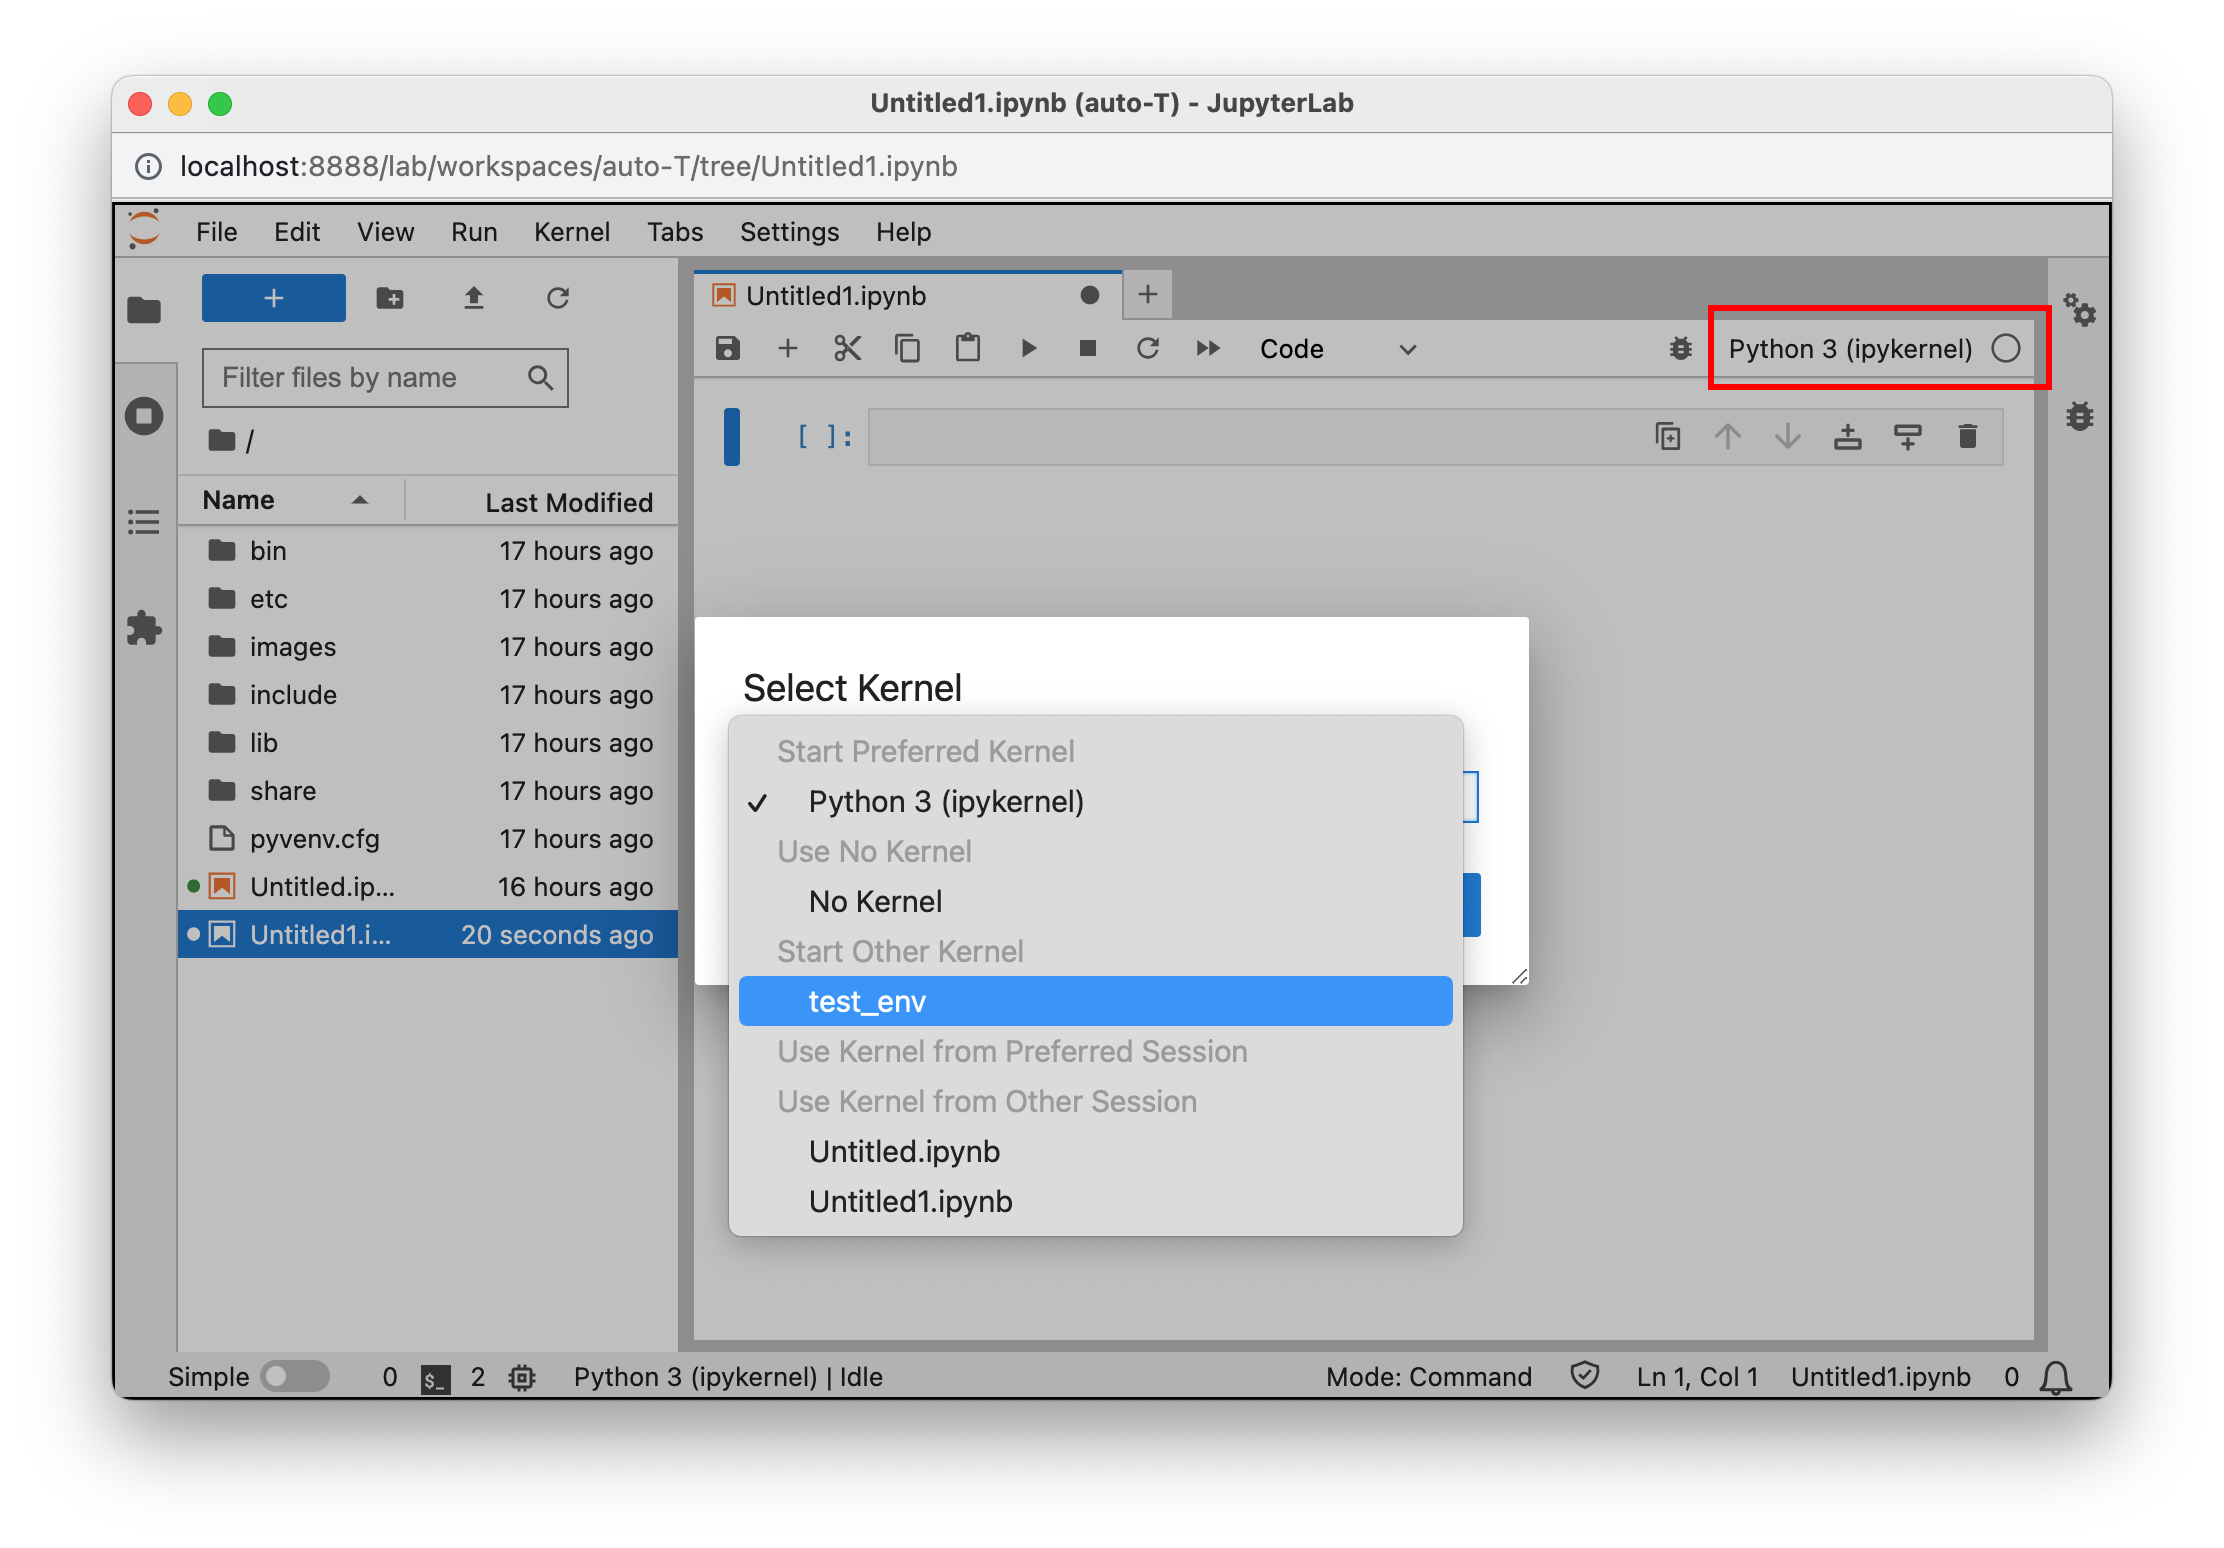
Select the kernel
Make sure to select the “ad-venv” iPython kernel. You can do this under Kernel > Change Kernel, or in the latest versions of Jupyter by clicking the kernel name in the top right hand corner. If you don’t see your iPython kernel, make sure you followed the Jupyter Setup instructions listed above.
-
Magic Commands
Magic commands let you run terminal commands from within Jupyter. They are invoked by the%openadprefix. All OpenAD CLI commands can be accessed like this. For example:%openad list files
Interacting with the Toolkits
OpenAD integrates with DS4SD, RXN, and has placeholder support for GT4SD and ST4SD.
Registration
Before you can interact with the toolkits, you’ll need to register with each individual toolkit.
Register with DS4SD (DeepSearch)
-
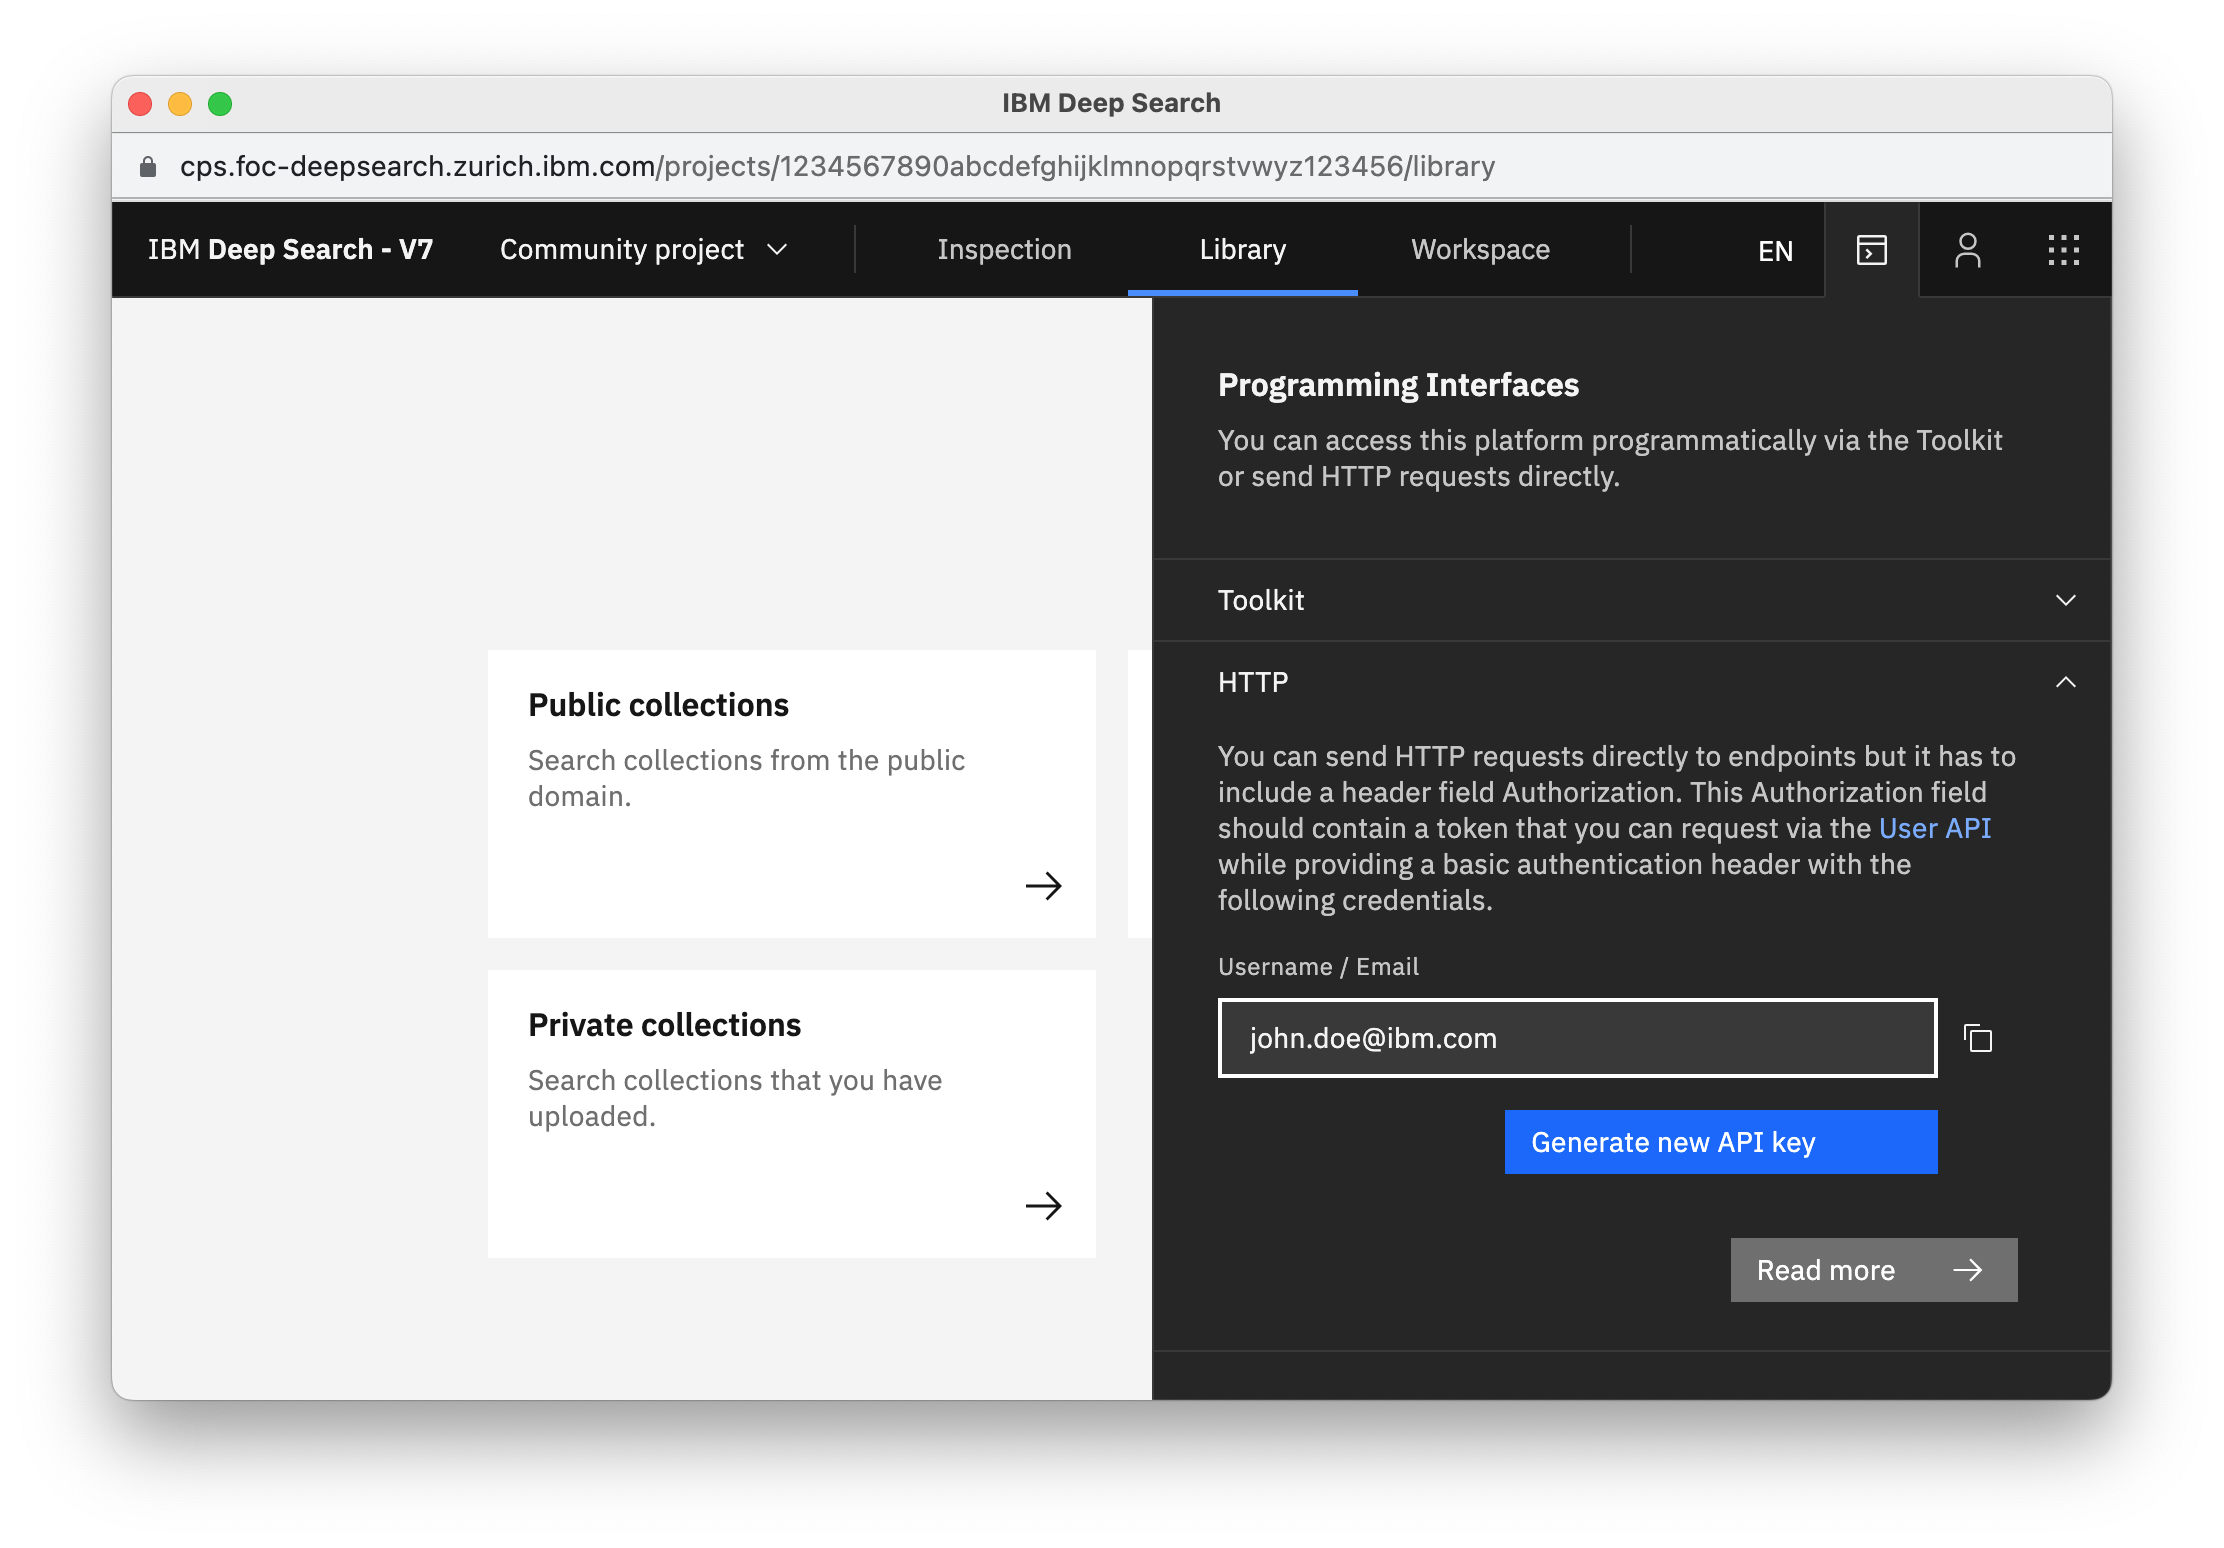
First, you’ll need to generate an API key on the DeepSearch website.
- Visit the DeepSearch website and create an account:
deepsearch-experience.res.ibm.com - Once logged in, click the Toolkit/API icon in the top right hand corner, then open the HTTP section
-
Click the “Generate new API key” button
- Visit the DeepSearch website and create an account:
-
Once inside the OpenAD client, you’ll be prompted to authenticate when activating the DeepSearch (DS4SD) toolkit. When running
set context ds4sd:- Hostname: https://sds.app.accelerate.science
- Email: Your email
- API_key: The DS4SD API key you obtained following the instructions above.
Note: Your DS4SD auth config file is saved as
~/.openad/ds-auth.ext-v2.json. If you ever want to reset your DS4SD login information, simply delete this file.
-
You should get a message saying you successfully logged in.
Register with RXN
-
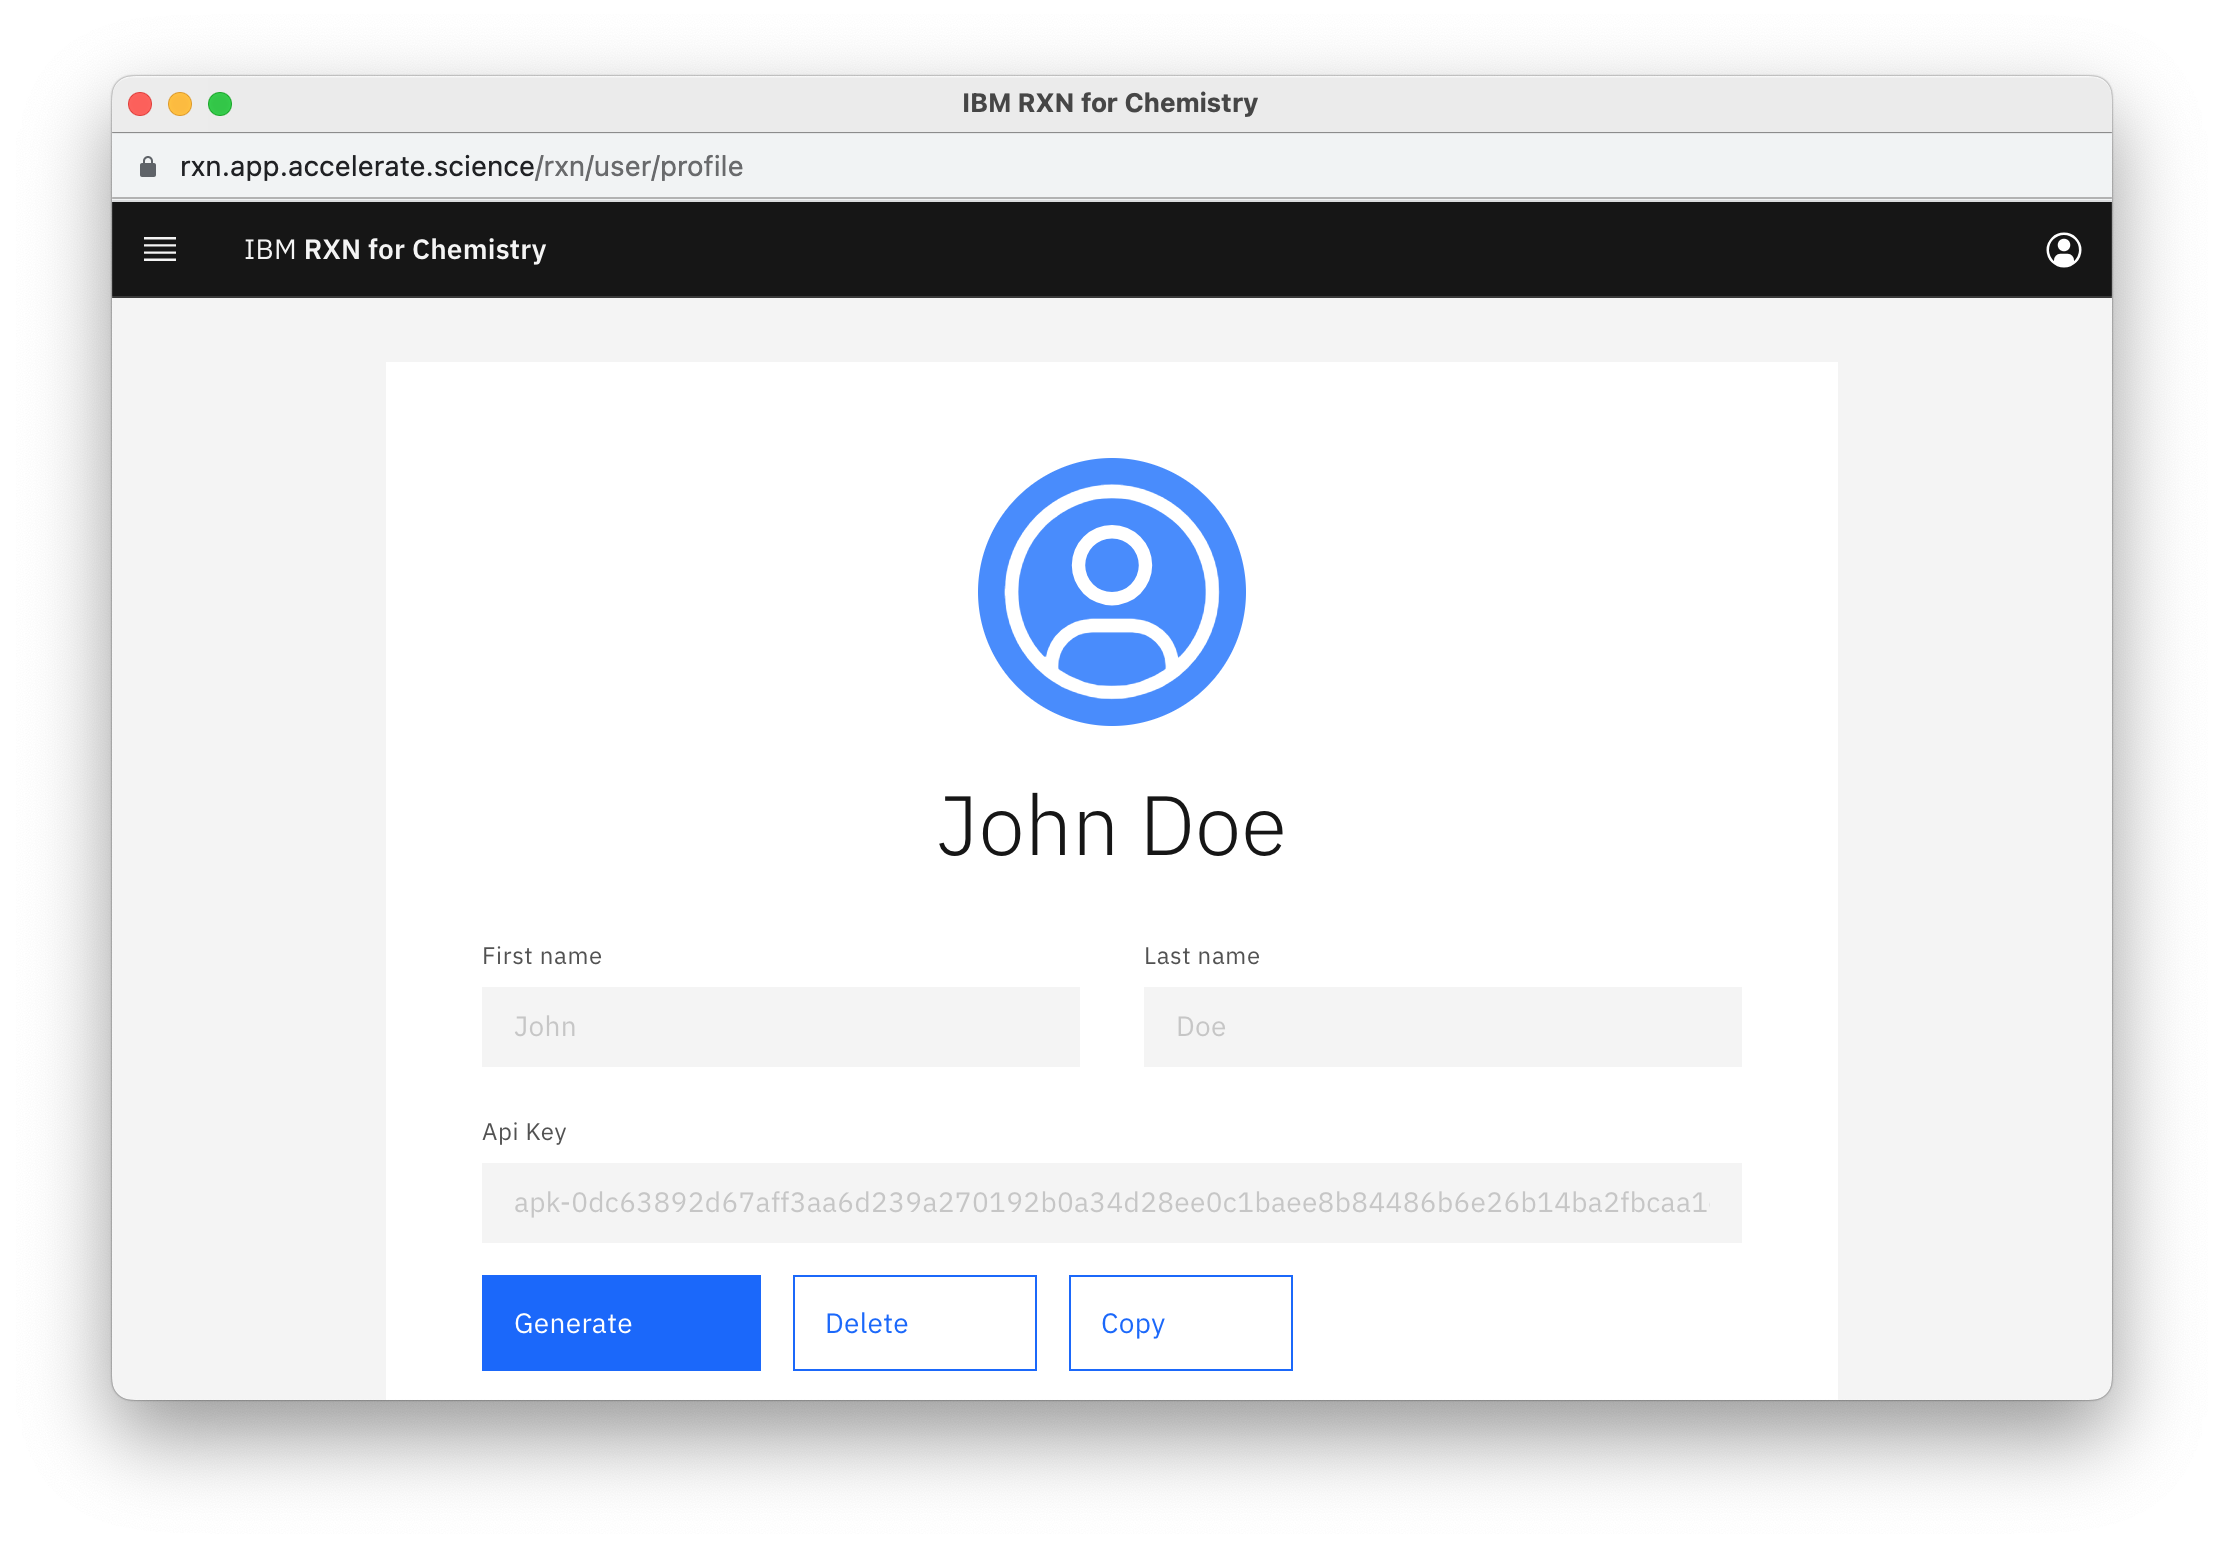
First, you’ll need to generate an API key on the RXN website.
- Sign up for an RXN account at rxn.app.accelerate.science
-
Obtain your API key by clicking the user profile icon in the top right hand corner and select “My profile”.
-
When setting the context to RXN using
set context rxnyou’ll be prompted to create a new auth configuration file:- Hostname: https://rxn.app.accelerate.science
- API_key: The RXN API key you obtained following the instructions above.
- Hostname: https://rxn.app.accelerate.science
-
You should get a message saying you successfully logged in.
Note: Your RXN auth config file is saved as
~/.openad/rxn-auth.ext-v2.json. If you ever want to reset your RXN login information, simply delete this file. You can also do this by runningset context ds4sd reset
Adding a Toolkit
First install the toolkit, then set the context to this toolkit.
add toolkit ds4sd
set context ds4sd
Sample Commands
# DS4SD
display all collections

# RXN
list rxn models
Running Bash Commands (CLI)
To run a command in bash mode, prepend it with openad and make sure to escape quotes.
openad show molecules using file \'base_molecules.sdf\'
AI Assistant
To enable our AI assistant, you’ll need an account with OpenAI. There is a one month free trial.
Note: watsonx coming soon
-
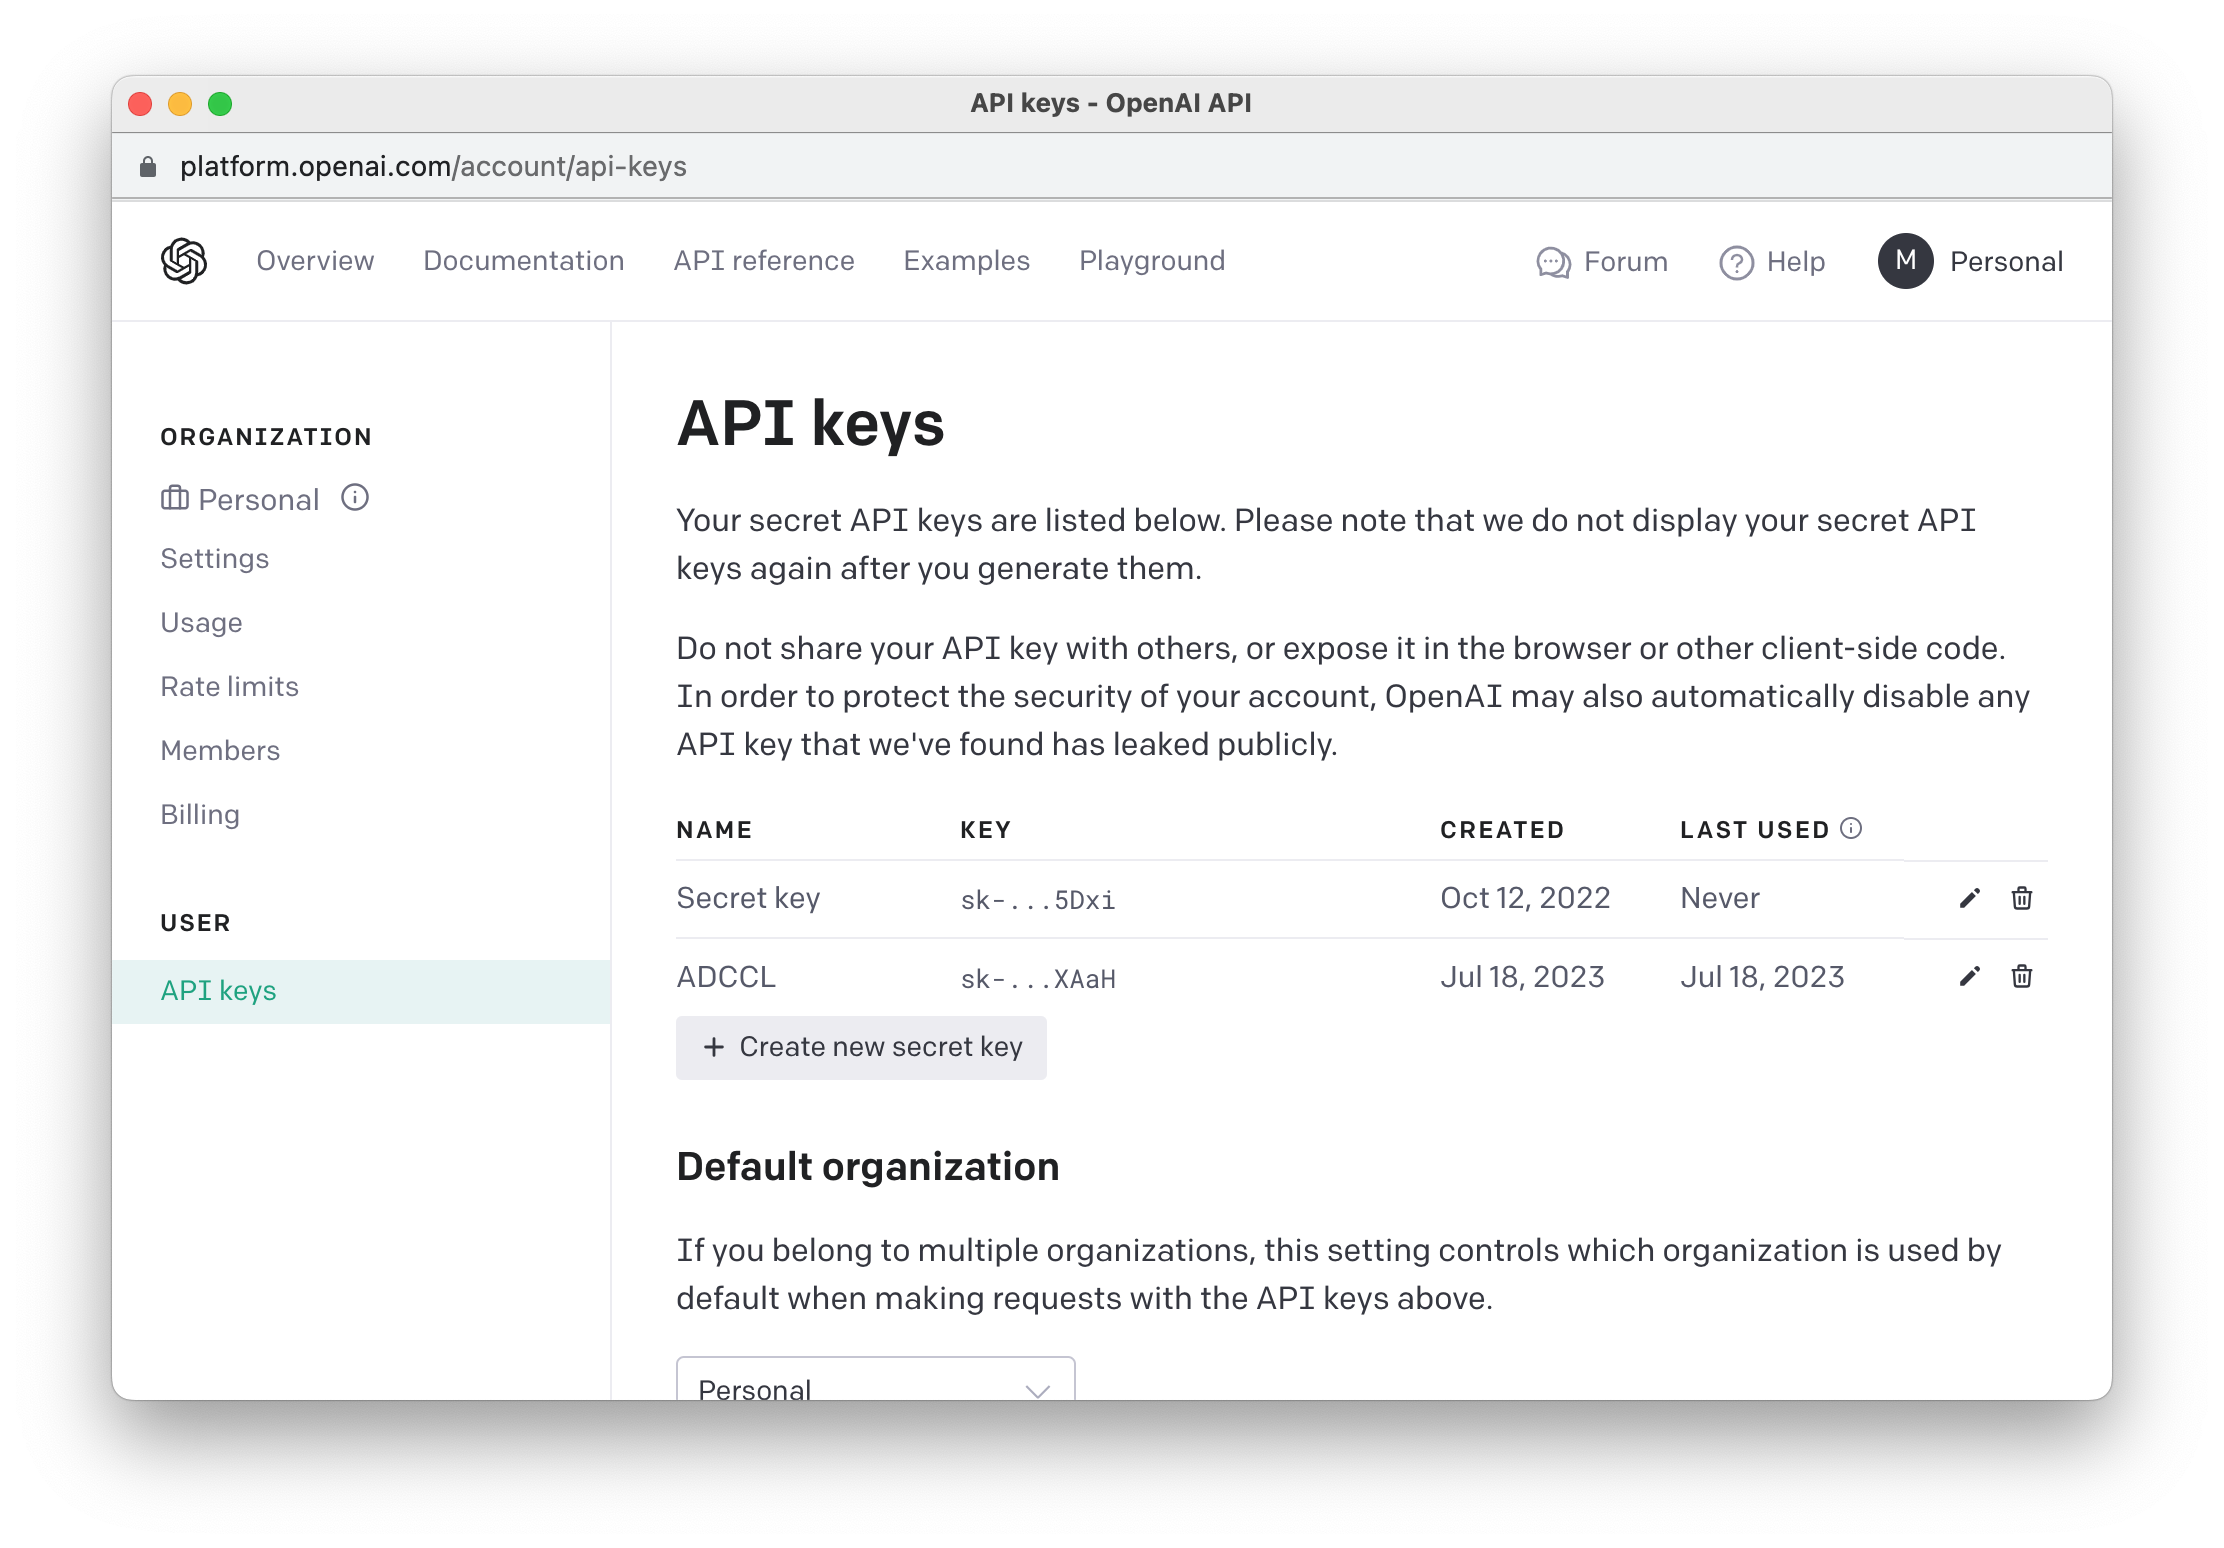
Go to platform.openai.com and create an account
-
Click on the profile icon in the top right and choose “View API keys”
-
Create a new key
-
Run
tell meto be prompted for your OpenAI API credentials -
Your hostname is https://api.openai.com/v1/models
For Developers
OpenAD is fully open source and we encourage contributions. We plan to provide documentation on how to integrate your own toolkits in the future.
If you have any questions in the meantime, please reach out.
Installation for Development
Install using the setup wizard (uses poetry)
-
Step 1: Download the repo
git clone https://github.com/acceleratedscience/open-ad-toolkit.gitNote: To download a specific branch, you can run instead:
git clone -b <branch_name> https://github.com/acceleratedscience/open-ad-toolkit.git -
Step 2: Launch the setup wizard
cd open-ad-toolkit
./setup.sh
Install using pip
-
Step 0: Before you start
Ensure you’re running Python 3.10.10 or above. There’s multiple ways of doing this, we’ll use pyenv.git clone https://github.com/pyenv/pyenv.git ~/.pyenv pyenv install 3.10 -
Step 1: Set up your virtual environment (optional)
python -m venv ~/ad-venv
source ~/ad-venv/bin/activate
Note: To exit the virtual environment, you can run
deactivate -
Step 2: Download the repo
git clone https://github.com/acceleratedscience/open-ad-toolkit.gitNote: To download a specific branch, you can run instead:
git clone -b <branch_name> https://github.com/acceleratedscience/open-ad-toolkit.git -
Step 2: Install the requirements
cd open-ad-toolkit
pip install -e .
Note: The -e flag stands for “editable”. This means that instead of copying the package’s files to the Python site-packages directory as in a regular installation, pip creates a symbolic link (symlink) from your package’s source code directory into your Python environment.
This way you can make changes to the source code of the package, and those changes are immediately reflected in your Python environment. You don’t need to reinstall the package every time you make a change.
Testing a branch
To do a regular install from a particular branch, you can run:
pip install git+https://github.com/acceleratedscience/open-ad-toolkit.git@<branch_name>
Installing on Windows
In order to run OpenAD on Windows 11, you will need to install the Ubuntu WSL package (“Windows Subsystem for Linux”).
Before you start
-
Verify Windows version
To check if you are running Windows 11 or later, pressWin+R, type “winver”, and pressEnter. A window will open showing your Windows version. -
Verify WSL
To check if you already have WSL installed, runwsl -l -vinto the terminal. To see more information about your current version of Ubuntu, runlsb_release -a
Installing WSL
Install WSL and create a user called ‘openad’ or one of your choosing.
wsl --install Ubuntu-22.04
Optional: To setup an Ubuntu Python environment from scratch, continue to Linux Notes
Linux Notes
If you wish to setup an Ubuntu Python environment from scratch, run:
sudo add-apt-repository ppa:deadsnakes/ppa
sudo apt update
sudo apt install python3.11-full
sudo apt install python3-pip
sudo update-alternatives --install /usr/bin/python3 python3 /usr/bin/python3.11 100
sudo pip install pip --upgrade
If you get an error when running init_magic, you may first need to setup the default iPython profile for magic commands.
ipython profile create